Using WSL 2 for programming
Windows subsystem for linux allow us to install a basic linux system on a Windows 10 machine and use it as if it were a standard Linux computer. There are a few limitations which I will outline later, however for basic programming tasks in C / C++ or Python WSL 2 will give you all the tools you need with minimal effort.
Windows terminal Is a modern terminal with many features such as split panes and mouse interactions. Whilst not essential for using WSL2 it does make the experience much better. I use this for all my terminal session, from powershell, cmd or WSL.
Getting Started
To enable WSL2 we need to activate the WSL feature and install a linux distribution. The easiest way to do this is to use the instructions here.
Once this has been done we can open the microsoft store and install a distribution. I suggest to use the latest Ubuntu LTS 20 version. At the same time install Windows Terminal from the store.
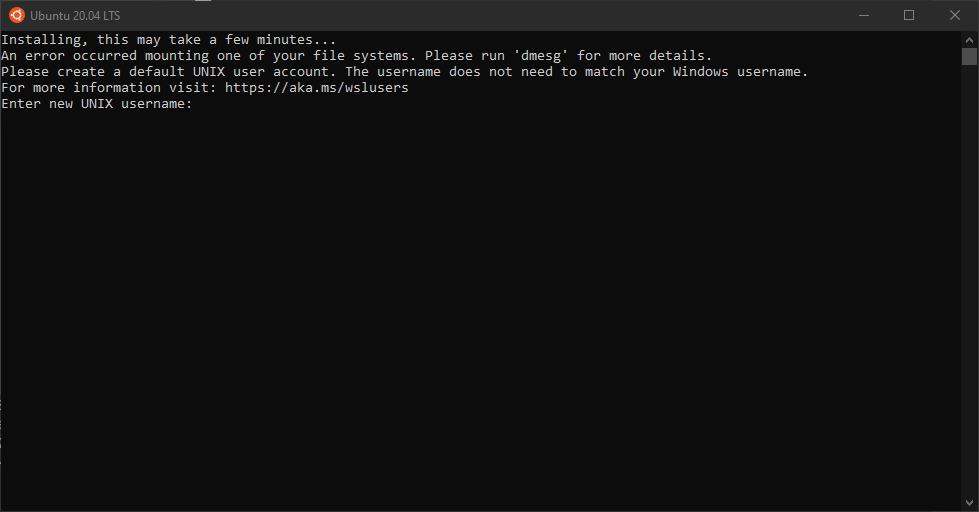
Once Ubuntu has downloaded it can be launched from the store, you will be prompted for a username (I use the same one as my university account for ease but it can be anything. I suggest small and all lowercase).
If we open a terminal as powershell we can run the following command
PS C:\Users\jpmac> wsl --list
Windows Subsystem for Linux Distributions:
Ubuntu (Default)
CentOS8
Ubuntu-20.04
As you can see from above I have several different linux versions installed. In this case we need to use the Ubuntu-20.04 version that has been installed by the app store to set ourselves up in windows terminal. To do this we need to generate a Unique GUI which can be done in the powershell terminal as follows 1
PS C:\Users\jpmac> [guid]::NewGuid()

Guid
----
33215589-d2c3-49d9-84b6-e52530479a7d
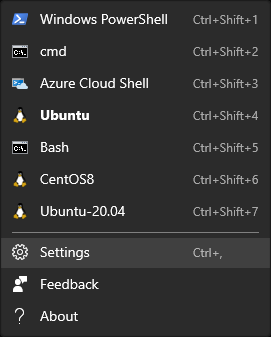
Now in the windows terminal settings menu show, click on settings.
This will open up your default editor (hopefully this is VSCode) and you can edit the setting file to add the new UUID and a new menu entry under the profiles section. It is important that this json entry is comma separated on the {}. For more details on editing the settings see here.
{
    "guid": "{07b52e3e-de2c-5db4-bd2d-ba144ed6c273}",
    "hidden": false,
    "name": "Ubuntu-20.04",
    "source": "Windows.Terminal.Wsl"
}
Installing software.
date : “2020-10-02”
sudo apt update
sudo apt upgrade
Programming tools.
By default python3 will be installed in Ubuntu 20LTS but C / C++ compilers are not. To install these we can use apt
sudo apt install build-essential
It is also a good idea to install cmake as we will use this in many of the programming examples.
sudo apt install cmake
Installing vcpkg
In many of my examples I use the vcpkg tool which in the University is installed in /public/devel/2020/vcpkg we can replicate this as follows.
First we use sudo mkdir /public to create a new folder on the root of the filesystem. We then need to grant permissions for all using sudo chmod 777 /public finally we can make the rest of the folders by using the -p flag of mkdir.
We also need to install some other tools to our basic wsl system as follows.
sudo apt-get install curl unzip tar pkg-config
We can now install vcpkg by following the instructions here to replicate the University build we need to clone it into /public/devel/2020 as follows
cd /public/devel/2020
git clone https://github.com/microsoft/vcpkg
cd vcpkg
./bootstrap-vcpkg.sh
We can now test by installing a simple package.
./vcpkg install glm
Using Visual studio code in WSL
It is possible to use Visual Studio Code in wsl by installing the Remote WSL extension. Once the extension is installed typing code in the Ubuntu WSL window will install the server ready for use. You can now open and edit files using VS Code but save in your WSL machine.
Testing it all out
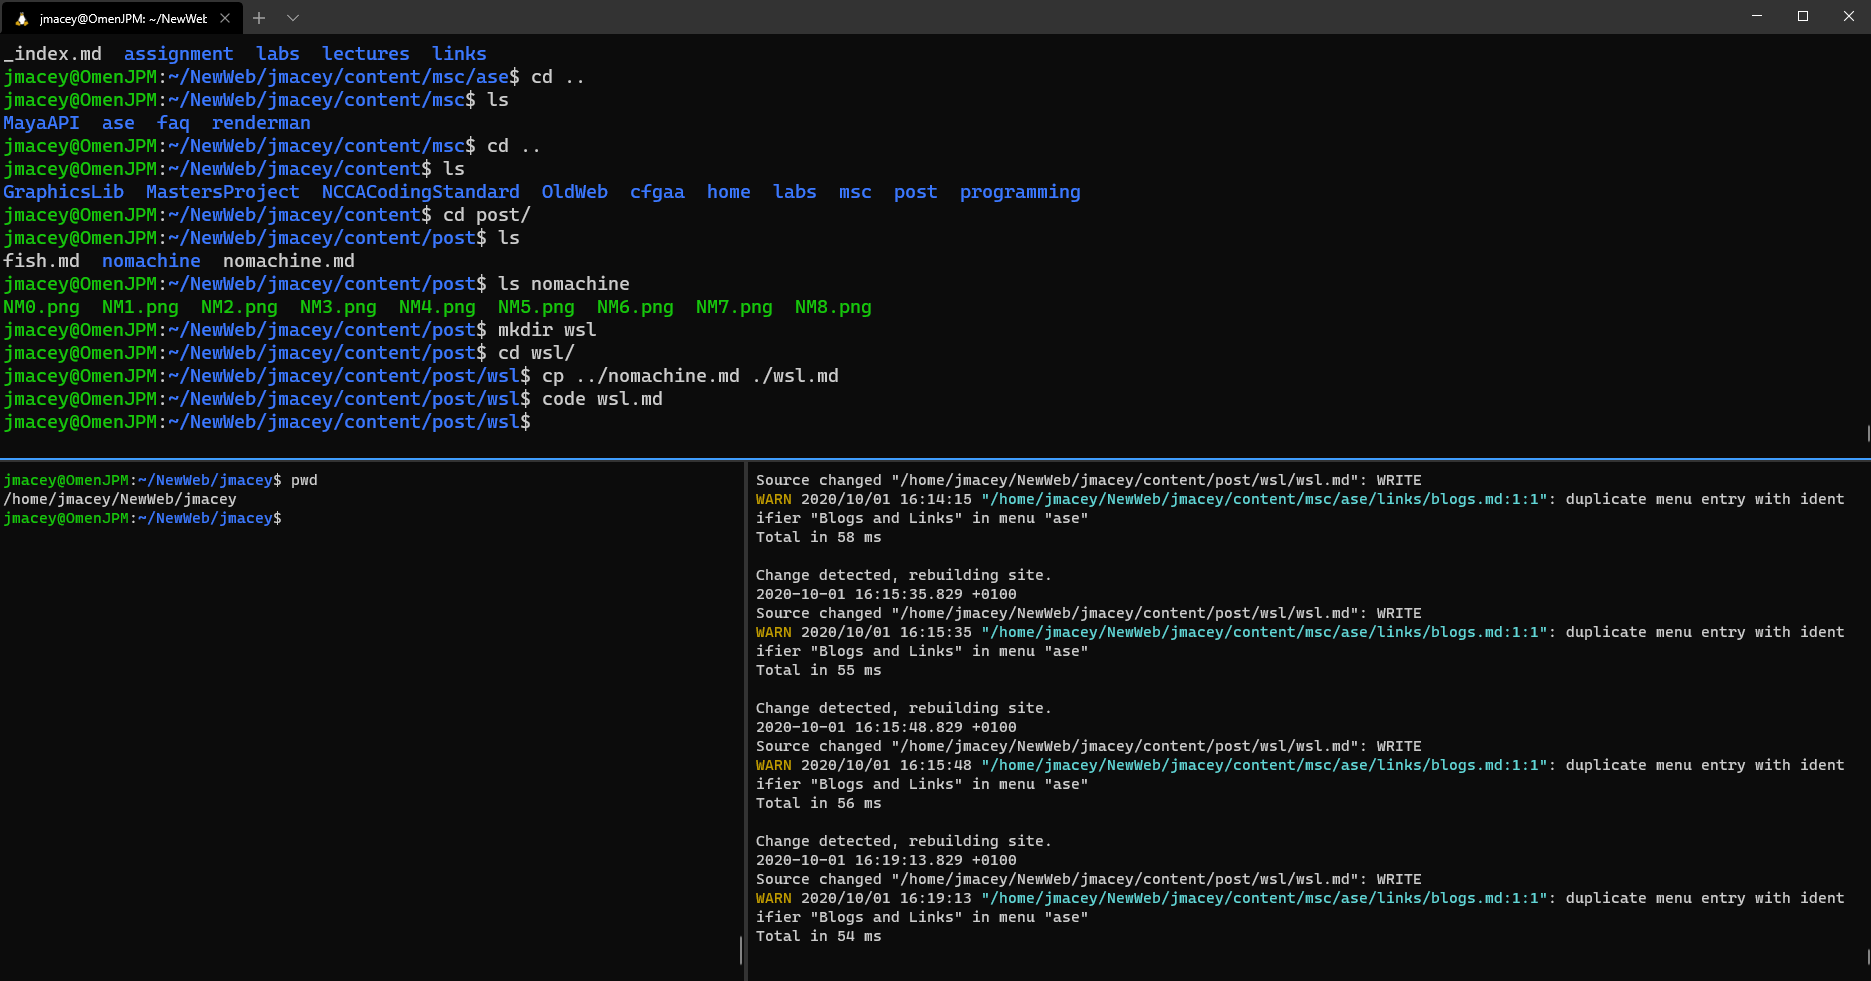
First we are going to make a folder and create two empty files, a CMakeLists.txt and c++ source file called glm.cpp as shown above, code . then opens the folder and we can add the following.
in glm.cpp we add the following.
#include <iostream>
#include <cstdlib>
#include <glm/mat4x4.hpp>
#include <glm/gtc/matrix_transform.hpp>
#include <glm/gtx/string_cast.hpp>


int main()
{
  glm::mat4 lookAt=glm::lookAt(glm::vec3(2.0f,2.0f,2.0f),glm::vec3(0.0f,0.0f,0.0f),glm::vec3(0.0f,1.0f,0.0f));
  glm::vec4 point=glm::vec4(2.0f,0.0f,-1.0f,1.0f);
  glm::vec4 res=point*lookAt;
  std::cout<<glm::to_string(point)<<'*'<<glm::to_string(lookAt)<<'='<<glm::to_string(res)<<'\n';
  return EXIT_SUCCESS;
}
and in CMakeLists.txt
# set the version
cmake_minimum_required(VERSION 3.2)

if(NOT DEFINED CMAKE_TOOLCHAIN_FILE AND DEFINED ENV{CMAKE_TOOLCHAIN_FILE})
   set(CMAKE_TOOLCHAIN_FILE $ENV{CMAKE_TOOLCHAIN_FILE})
endif()

# set the project name
project(glm_build)
set(CMAKE_CXX_STANDARD 17)

find_package(glm CONFIG REQUIRED)

add_executable(glmTest glm.cpp)
target_link_libraries(glmTest glm )
We are now going to do an “out of source build” of our project by doing the following.
mkdir build
cd build
cmake -DCMAKE_TOOLCHAIN_FILE=/public/devel/2020/vcpkg/scripts/buildsystems/vcpkg.cmake ..
make
./glmTest
For more details on this process and how to make the setup easier have a look at this tutorial.
Note your GUID will be different. ↩︎