Lab 6 NGL Installation
Aims
The Aim of this lab is to install NGL and try some demos programs
- Introduction to NGL
- Building NGL
- Building Demo
- Other Operating Systems
Introduction to NGL
NGL is the NCCA Graphics Library which has been used for teaching programming and graphics since 2003. It has gone through many iteration in that time and most of the recent history can bee seen in the GitHub history.
NGL is designed to be installed in the root of the users home directory (as students don’t have root on the windows or linux machines to install software), in the folder NGL. To ensure that the source files and the build library are not overwritten by each other we will clone NGL into a different directory than the root one.
mkdir NGLBuild
cd NGLBuild
git clone git@github.com:/NCCA/NGL
We can now use cmake to build
cd NGL
mkdir build
cd  build
cmake -DCMAKE_INSTALL_PREFIX=~/NGL ..
cmake   --build  . -j 12  --config Debug
make install
Building Python
cmake -DCMAKE_INSTALL_PREFIX=~/NGL -DBUILD_PYNGL=1 ..
Windows Build for NGL
The following instructions will help you install and use NGL under windows.
Pre-requisites
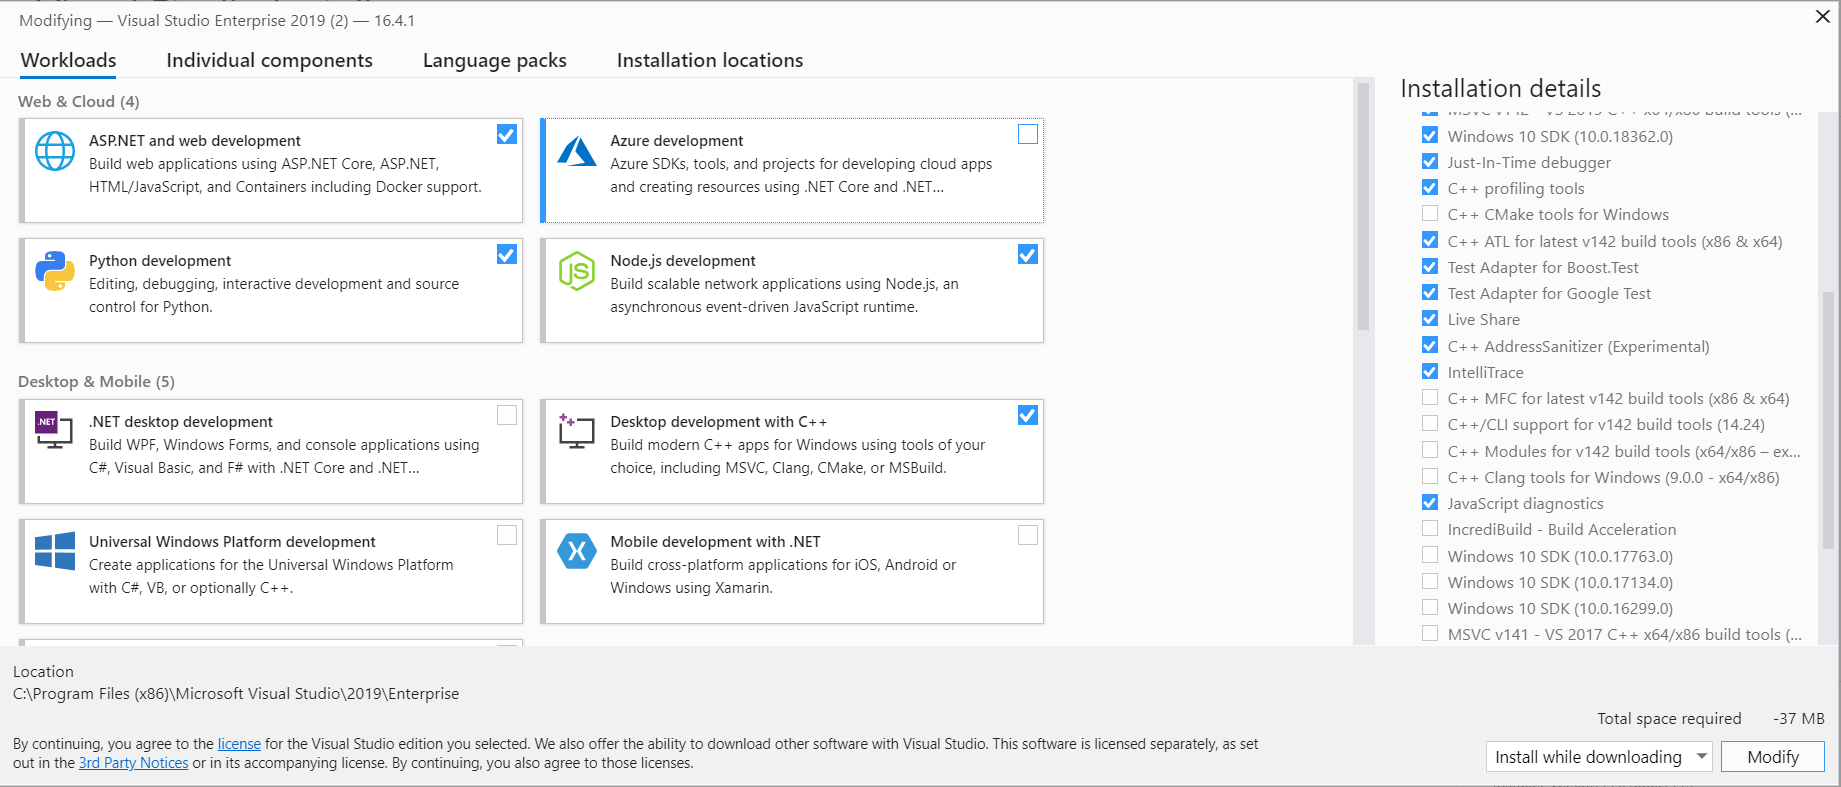
You will need to install Visual Studio community edition from here NGL will work with any C++ 17 compiler but I have been using MSVC 2019 for the current windows 10 build.
As a minimum choose Desktop C++ development as show in the image here
Install vcpkg
vcpkg is a tool which allows you to install libraries under windows. I use this to help install the required libraries for NGL. Follow the install instructions here
https://github.com/microsoft/vcpkg. It is important to install this in the root of your home directory to ensure this is correct run the cmd.exe terminal and type cd %HOMEDRIVE%%HOMEPATH% before running the commands to install vcpkg. NGL will use %HOMEDRIVE%%HOMEPATH% in all the build scripts to ensure things are in the correct locations.
Once vcpkg is installed the following libraries need to be added.
cd vcpkg
.\vcpkg install gtest:x64-windows
.\vcpkg install glm:x64-windows
.\vcpkg install glfw3:x64-windows
.\vcpkg install openimageio:x64-windows
.\vcpkg install rapidjson:x64-windows
.\vcpkg install rapidxml:x64-windows
.\vcpkg install fmt:x64-windows
.\vcpkg install pybind11:x64-windows
Build NGL
NGL can now be cloned and installed as with Mac and Linux. It is important that when building the demos they are build as release or debug for everything. For example NGL build as debug must have the demo programs build as debug as well. Also this will require the correct version of the vcpkg libs to be installed as well for both debug and release.
For a simple Command line build do the following in the Visual Studio shell not you will need to change the paths for your own install of vcpkg and home directories
Note the instructions below are for Powershell not cmd.
git clone git@github.com:/NCCA/NGL NGLBuild
cd NGLBuild
mkdir build
cmake -DCMAKE_TOOLCHAIN_FILE="$HOME\vcpkg\scripts\buildsystems\vcpkg.cmake" -DCMAKE_INSTALL_PREFIX:PATH="$HOME\NGL"  -DCMAKE_BUILD_TYPE=Debug  ..
cmake --build .

cmake --build . --target install --config Debug
Note all the demos expect NGL to be installed in a system path or the root of your home directory %HOMEDRIVE%/%HOMEPATH%/NGL