Setup Python for Machine Learning and AI
Introduction
In Lab1 we introduced the PyEnv tool to allow us to install various versions of python either locally or globally.
In the following examples we will explore how we can setup and install specific ML libraries into a Virtual Environment using the global PyEnv python.
The main reason for doing this is that it allows each user to develop their own specific python sandbox to develop their projects. As everything is in the current users home directory it also means that you don’t need admin privileges to install everything.
Getting started
We will start by installing and seting up the default python to be anaconda3, the reason for this is that anaconda is the main python package used in Data Science and Machine Learning and also give us jupyter notebooks as part of the install.
Installing anaconda
To install anaconda with pyenv we can use the list command to see what versions of anaconda are available.
pyenv install --list | grep anaconda
You will note that versions from anaconda-1.4.0 through to the very latest anaconda3-2022.05. Unless there is a specific reason (usually to do with compatibility with an old library), it is best to install the latest version.
In this case we will install the latest as follows
pyenv install anaconda3-2022.05
We can now set anaconda as the default global python for everything as follows.
pyenv global anaconda3-2022.05
python -V
Python 3.9.12
This install also adds Jupyter and other tools, a simple test is to fire up the ipython qtconsole and test.
jupyter qtconsole
Which should display the following
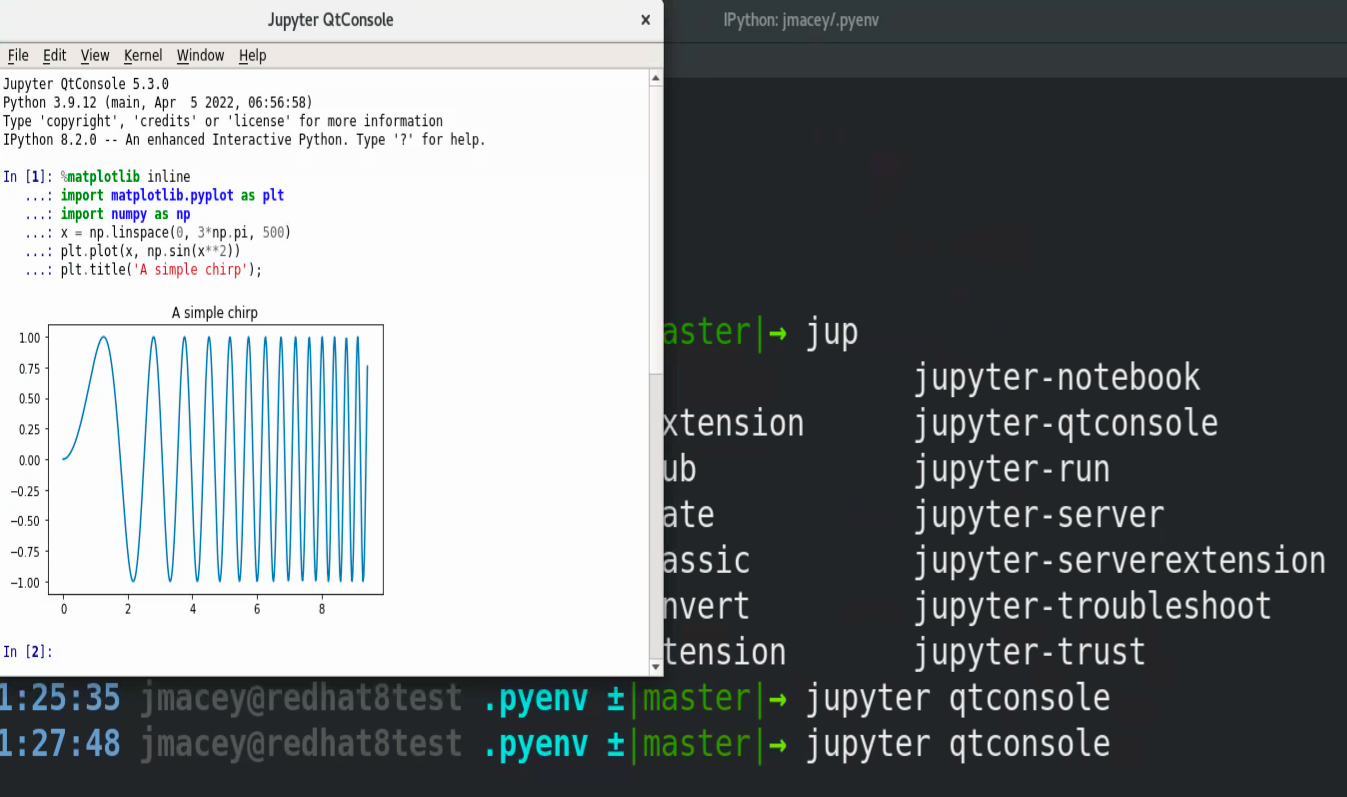
Paste this code into the console and press CTRL + Enter to execute
%matplotlib inline
import matplotlib.pyplot as plt
import numpy as np
x = np.linspace(0, 3*np.pi, 500)
plt.plot(x, np.sin(x**2))
plt.title('A simple chirp');
More of these tools will be investigated in the Lectures and Labs.
Installing PyTorch
The core ML framework used in the lectures will be PyTorch, it is easy to install this within the pyenv / anaconda framework by default and as we will be using this often this is the best approach.
pip install torch
If you wish to get a clean environment with none of the extra elements from anaconda you can use a virtual environment as follows.
The following will create the virtual environment (in the home directory), to activate to use this environment you first need to source the bin/activate function. You will notice the prompt changes to (PyTorch) to indicate it is active.
python -m venv ~/PyTorch
cd ~/Pytorch
source bin/activate
First time using this environment we can install the packages needed for the basic PyTorch setup. Note this will only be in this sandboxed environment not the global one.
pip install numpy torch
Now run python and input the following which should return True
import torch
torch.cuda.is_available()
To exit the virtual environment we can use the deactivate command.
Installing Tensorflow
Tensor flow is another machine learning library that you may wish to use. As before we can either install this as a default install in the anaconda environment or to a virtual env.
python -m venv ~/TensorFlow
cd ~/TensorFlow
source bin/activate
pip install numpy TensorFlow
To test we can run python and execute the following
import tensorflow as tf
print("Num GPUs Available: ", len(tf.config.list_physical_devices('GPU')))
Which should return Num GPUs Available: 1
Again to leave this environment use deactivate